


Introduction 💻
Lights, camera, React! Welcome to the set of our latest blockbuster. In this blog post, we're about to embark on a journey that's part coding adventure, part Hollywood magic. Picture this: a hero section so captivating, it'll make Netflix jealous. We're diving deep into the world of React to craft a user interface that's not just great—it's legendary. And guess what? We'll be optimizing the hero section with some beginner-friendly tricks in React.
Here's the GitHub repository link if you feel like playing around with the code: GitHub Repo
Grab your popcorn, folks, because this is going to be one heck of a ride! 🍿✨🚀🎉👨💻
Technologies Required 🧑🏻💻
React: 🚀 Empowering UI development with virtual DOM and component-based architecture. Learn more
TypeScript: 🔍 Enhancing code robustness and IDE support with static typing. Learn more
Vite.js: ⚡️ Supercharging modern web development with blazing fast builds. Learn more
Video.js: 🎬 Crafting dynamic, responsive video players for immersive web experiences. Learn more
Material-UI: 🎨 Building beautiful and accessible user interfaces with ready-to-use components. Learn more
No sweat, if you haven't worked with these tools 🛠️🔍 Stick around, and I'll guide you through each one, step by step! 🚶♂️💡
Let's Begin 🏁
Setting up the Project with Vite (Veet)⚡️
Setting up our project with Vite.js for lightning-fast development. Just follow the commands and get ready for some React magic! 🚀✨ Let's lay down the red carpet with some Vite wizardry! 🎬🪄✨
# Create a new Vite project with npm
npm create vite@latest netflix-hero-section-video-player

# Choose Framework as React

# Select Variant as Typescript + SWC (Speedy Web Compiler)

# Move into the project directory
cd netflix-hero-section-video-player

# Install dependencies
npm install

# Start the development server
npm run dev
We're gearing up to make our development process smoother than ever! To do that, we'll be installing some additional dependencies that will make working with our project a breeze. Let's run the below command, and we'll be all set to dive into the next phase of our React hero section project 🚀🛠️
npm install @mui/material @mui/icons-material video.js @types/video.js
Delete the following files: App.jsx, assets folder, and app.css. You can keep index.css for styling purposes. It's the last step before we start writing some code.
Writing the Code 🧑🏻💻
We'll start by creating the initial UI components and then move on to optimizing the project for better performance.
main.tsx:
To set up the hero section, create a new file named HeroSection.tsx in the same directory as main.tsx. Then, replace the existing code in main.tsx with the provided code snippet. This imports the HeroSection.tsx file and renders it instead of the previous App.tsx.
import ReactDOM from "react-dom/client";
import HeroSection from "./HeroSection.tsx";
import "./index.css";

ReactDOM.createRoot(document.getElementById("root")!).render(<HeroSection />);
HeroSection.tsx
In the below section, you'll find the initial boilerplate code for the HeroSection.tsx. As we progress, we'll gradually build upon this foundation, leveraging Material UI's built-in components for styling. Our primary focus will be on optimizing the performance of our HeroSection.
import { Box } from "@mui/material";
import Navbar from "./components/common/ui/Navbar";

function HeroSection() {
  return (
    <Box sx={{ position: "relative", zIndex: 1 }}>
      <Box
        sx={{
          position: "absolute",
          top: 0,
          zIndex: 11,
        }}
      >
        <Navbar />
      </Box>
      <Box
        sx={{
          mb: "100%",
          pb: "40%",
          top: 0,
          left: 0,
          right: 0,
          position: "relative",
        }}
      >
        <Box
          sx={{
            width: "100%",
            height: "56.25vw",
            position: "absolute",
          }}
        >
          {/* Video Player */}

          {/* Video Metadata & Controller Buttons */}
        </Box>
      </Box>
    </Box>
  );
}

export default HeroSection;
Navbar.tsx
Create the directory /src/components/common/ui/Navbar and add Navbar.tsx inside it.
import { useState } from "react";
import {
  AppBar,
  Avatar,
  Box,
  IconButton,
  Menu,
  MenuItem,
  Stack,
  Tooltip,
  Typography,
} from "@mui/material";
import SearchIcon from "@mui/icons-material/Search";
import Logo from "../../assets/Logo";

export default function Navbar() {
  // State to track the Menu bar
  const [anchorElUser, setAnchorElUser] = useState<null | HTMLElement>(null);

  // Handle Menu Open
  const handleOpenUserMenu = (event: React.MouseEvent<HTMLElement>) => {
    setAnchorElUser(event.currentTarget);
  };

  // Handle Menu Close
  const handleCloseUserMenu = () => {
    setAnchorElUser(null);
  };

  return (
    <AppBar
      sx={{
        zIndex: 3,
        bgcolor: "#141414",
        width: "100%",
        py: "20px",
      }}
    >
      <Stack
        direction="row"
        justifyContent="space-between"
        alignItems="center"
        sx={{ px: 4 }}
      >
        <Stack
          spacing={{ xs: 1, sm: 2 }}
          direction="row"
          useFlexGap
          flexWrap="wrap"
        >
          {/* Logo */}
          <Logo sx={{ mr: 2, cursor: "pointer" }} />

          {/* Nav bar items */}
          {["My List", "Movies", "Tv Shows"].map((page) => (
            <Box sx={{ cursor: "pointer" }} key={page}>
              {page}
            </Box>
          ))}
        </Stack>

        <Stack
          spacing={{ xs: 1, sm: 2 }}
          direction="row"
          useFlexGap
          alignItems="center"
          flexWrap="wrap"
        >
          {/* Search Icon */}
          <SearchIcon sx={{ cursor: "pointer" }} />

          {/* Menu and User Icon */}
          <Box>
            <Tooltip title="Open settings">
              <IconButton onClick={handleOpenUserMenu} sx={{ p: 0 }}>
                <Avatar alt="user_avatar" src="/avatar.png" variant="rounded" />
              </IconButton>
            </Tooltip>
            <Menu
              sx={{ mt: "45px" }}
              id="avatar-menu"
              anchorEl={anchorElUser}
              anchorOrigin={{
                vertical: "top",
                horizontal: "right",
              }}
              keepMounted
              transformOrigin={{
                vertical: "top",
                horizontal: "right",
              }}
              open={Boolean(anchorElUser)}
              onClose={handleCloseUserMenu}
            >
              {["Account", "Logout"].map((setting) => (
                <MenuItem key={setting} onClick={handleCloseUserMenu}>
                  <Typography textAlign="center">{setting}</Typography>
                </MenuItem>
              ))}
            </Menu>
          </Box>
        </Stack>
      </Stack>
    </AppBar>
  );
}
Logo.tsx
Inside the components directory, create a folder named assets, and within it, create Logo.tsx.
import Box, { BoxProps } from "@mui/material/Box";

// Download the Netflix logo and place it in the assets folder inside src
import NetflixLogo from "../../assets/netflix-logo.svg";

export default function Logo({ sx }: BoxProps) {
  return (
    <Box
      component="img"
      alt="Netflix Logo"
      src={NetflixLogo}
      width={120}
      height={30}
      sx={{
        ...sx,
      }}
    />
  );
}
VideoJsPlayer.tsx
To integrate video.js into our project and add the heart of our application, we'll create a file named VideoJsPlayer.tsx inside the /components/common/VideoJsPlayer directory.
In simple terms, we're leveraging the useRef hook to initialize playerRef as null during the initial render. Inside the First useEffect, we create the video element only if playerRef is null. Once the video is created and assigned to videoRef (which is used as a dependency in the first useEffect), we can start playing the video in the else statement. For more details, check out the Video.js + React Guide.
First Optimization
In the second useEffect, we do our First optimization. We're ensuring proper cleanup and disposal of the Video.js instance to prevent memory leaks. This step marks the beginning of our optimization journey! 🚀
import { useEffect, useRef } from "react";
import videojs from "video.js";
import "videojs-youtube";
import "video.js/dist/video-js.css";
import Player from "video.js/dist/types/player";
import { VideoJsPlayerOptions } from "@types/video.js";
import { Box } from "@mui/material";

const VideoJsPlayer = ({
  options,
  onReady,
}: {
  options: VideoJsPlayerOptions;
  onReady: (player: Player) => void;
}) => {
  const videoRef = useRef<HTMLDivElement | null>(null);
  const playerRef = useRef<Player | null>(null);

  // First useEffect to create the video player and if already exists play the video
  useEffect(() => {
    if (!playerRef.current) {
      const videoElement = document.createElement("video-js");
      videoRef.current?.appendChild(videoElement);

      const player = (playerRef.current = videojs(videoElement, options, () => {
        videojs.log("Player is ready");
        onReady && onReady(player);
      }));
    } else {
      const player = playerRef.current;

      player.autoplay(options.autoplay);
      player.src(options.sources);
    }
  }, [options, videoRef]);

  // Second useEffect to cleanup and dispose the video player
  useEffect(() => {
    const player = playerRef.current;

    return () => {
      if (player && !player.isDisposed()) {
        player.dispose();
        playerRef.current = null;
      }
    };
  }, [playerRef]);

  return (
    <>
      <div data-vjs-player>
        <div ref={videoRef} />
      </div>

      {/* Adding Gradients on top of video */}
      <Box
        sx={{
          background: `linear-gradient(77deg,rgba(0,0,0,.6),transparent 85%)`,
          top: 0,
          left: 0,
          bottom: 0,
          right: "26.09%",
          opacity: 1,
          position: "absolute",
          transition: "opacity .5s",
        }}
      />
      <Box
        sx={{
          backgroundColor: "transparent",
          backgroundImage:
            "linear-gradient(180deg,hsla(0,0%,8%,0) 0,hsla(0,0%,8%,.15) 15%,hsla(0,0%,8%,.35) 29%,hsla(0,0%,8%,.58) 44%,#141414 68%,#141414)",
          backgroundRepeat: "repeat-x",
          backgroundPosition: "0px top",
          backgroundSize: "100% 100%",
          bottom: 0,
          position: "absolute",
          height: "20.7vw",
          opacity: 1,
          top: "auto",
          width: "100%",
        }}
      />
    </>
  );
};

export default VideoJsPlayer;
Back to HeroSection.tsx
Back in HeroSection.tsx, it's time to incorporate VideoJsPlayer.tsx, add video metadata jsx components (MaxLineTypography, PlayButton, MoreInfoButton and MaturityRate), and include a few essential buttons like Mute toggle, mimicking the Netflix experience. Stay tuned for more optimizations coming your way! 🎬🍿
You can find the code for the rest of the components in the GitHub Repository
Here we gonna do the lazy loading optimization, memoization and a surprise yet simple optimization that Netflix does, we'll be implementing this last optimization at the end.
import {
Suspense,
lazy,
useCallback,
useEffect,
useMemo,
useRef,
useState,
} from "react";
import { Box, CircularProgress, Stack } from "@mui/material";
import videojs from "video.js";
import Player from "video.js/dist/types/player";
import useOffSetTop from "./hooks/useOffSetTop";
import VolumeUpIcon from "@mui/icons-material/VolumeUp";
import VolumeOffIcon from "@mui/icons-material/VolumeOff";
import Navbar from "./components/common/ui/Navbar";
import PlayButton from "./components/common/ui/PlayButton";
import MaxLineTypography from "./components/MaxLineTypography";
import MoreInfoButton from "./components/common/ui/MoreInfoButton";
import MaturityRate from "./components/MaturityRate";
import NetflixIconButton from "./components/NetflixIconButton";
const LazyVideoJsPlayer = lazy(
() => import("./components/common/VideoJsPlayer")
);
function HeroSection() {
const playerRef = useRef<Player | null>(null);
// video options with useMemo
const videoJsOptions = useMemo(
() => ({
autoplay: true,
controls: false,
responsive: true,
fluid: true,
fill: true,
loop: true,
muted: true,
techOrder: ["youtube"],
sources: [
{
src: "https://www.youtube.com/watch?v=4k6Xgjqkad4",
type: "video/youtube",
},
],
}),
[]
);
// Hanlder to check if the video.js is ready
const handlePlayerReady = (player: Player) => {
playerRef.current = player;
player.on("waiting", () => {
videojs.log("player is waiting");
});
player.on("dispose", () => {
videojs.log("player will dispose");
});
};
// Handle mute logic
const [muted, setMuted] = useState(true);
const handleMute = useCallback((status: boolean) => {
if (playerRef.current) {
playerRef.current.muted(!status);
setMuted(!status);
}
}, []);
return (
<Box sx={{ position: "relative", zIndex: 1 }}>
<Box
sx={{
position: "absolute",
top: 0,
zIndex: 11,
}}
>
<Navbar />
</Box>
<Box
sx={{
mb: "100%",
pb: "40%",
top: 0,
left: 0,
right: 0,
position: "relative",
}}
>
<Box
sx={{
width: "100%",
height: "56.25vw",
position: "absolute",
}}
>
{/* Video Player */}
<Box
sx={{
top: 0,
left: 0,
right: 0,
bottom: 0,
position: "absolute",
}}
>
<Suspense fallback={<CircularProgress />}>
<LazyVideoJsPlayer
options={videoJsOptions}
onReady={handlePlayerReady}
/>
</Suspense>
</Box>
{/* Video Metadata & Controller Buttons */}
<Box
sx={{
position: "absolute",
top: 0,
left: 0,
right: 0,
bottom: 0,
width: "100%",
height: "100%",
}}
>
<Stack
spacing={4}
sx={{
bottom: "35%",
position: "absolute",
left: { xs: "4%", md: "60px" },
top: 0,
width: "36%",
zIndex: 10,
justifyContent: "flex-end",
}}
>
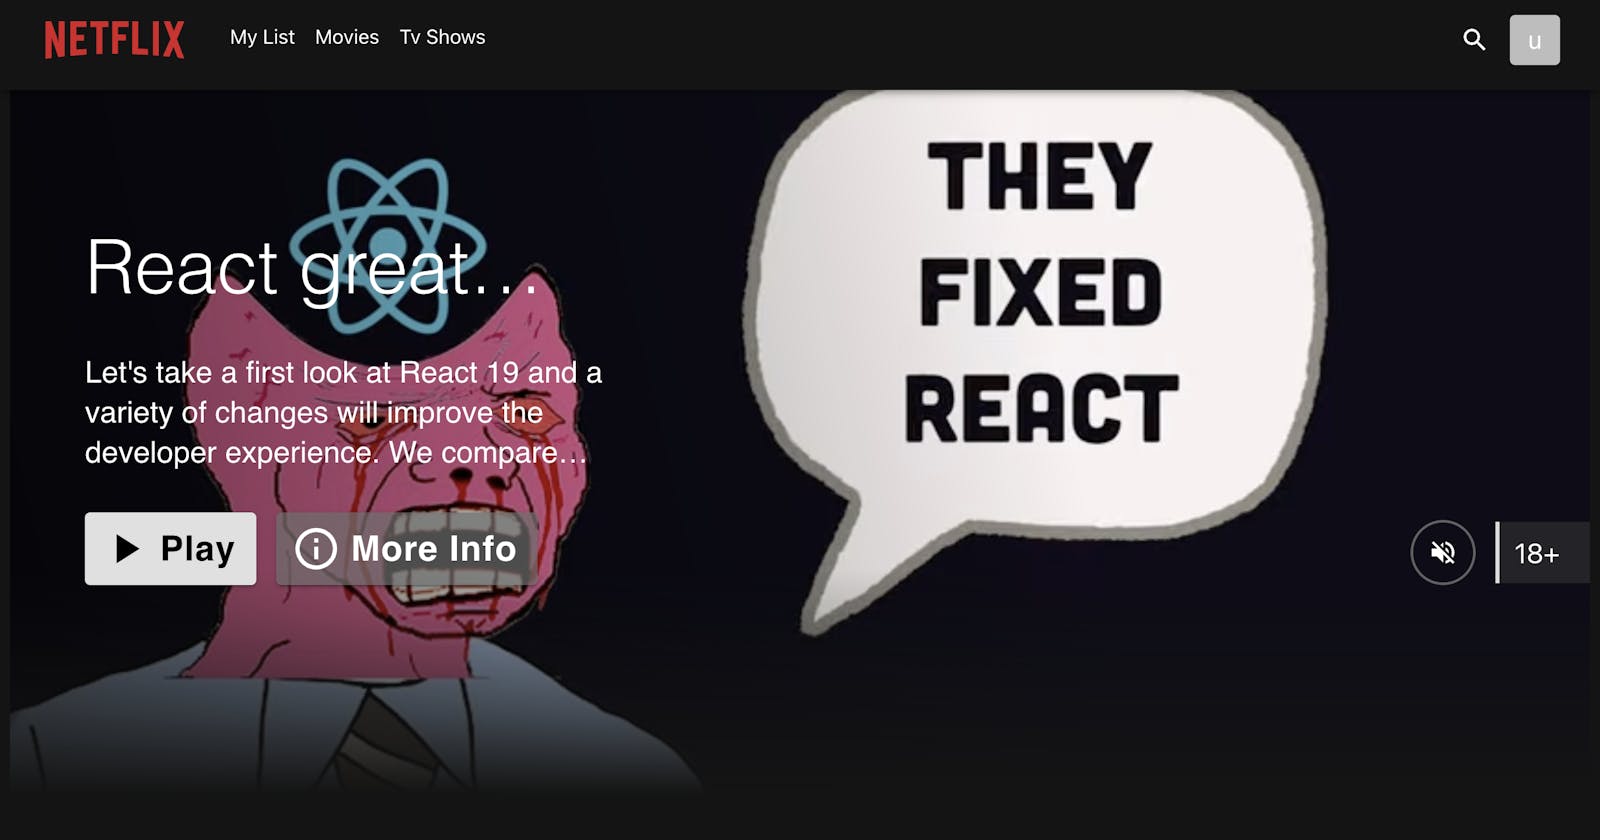
<MaxLineTypography variant="h2" maxLine={1} color="#fff">
React great again?
</MaxLineTypography>
<MaxLineTypography variant="h5" maxLine={3} color="#fff">
Let's take a first look at React 19 and a variety of changes
will improve the developer experience. We compare React's
changes to other JavaScript frameworks like Svelte, Vue, and
Angular.
</MaxLineTypography>
<Stack direction={{ xs: "column", sm: "row" }} spacing={2}>
<PlayButton size="large" />
<MoreInfoButton size="large" />
</Stack>
</Stack>
<Stack
direction="row"
spacing={2}
sx={{
alignItems: "center",
position: "absolute",
right: 0,
bottom: "35%",
}}
>
<NetflixIconButton
size="large"
onClick={() => handleMute(muted)}
sx={{ zIndex: 2 }}
>
{!muted ? <VolumeUpIcon /> : <VolumeOffIcon />}
</NetflixIconButton>
<MaturityRate>{`18+`}</MaturityRate>
</Stack>
</Box>
</Box>
</Box>
</Box>
);
}
export default HeroSection;
Second Optimization
The second optimization we've implemented here is the utilization of useMemo on the video options. By memoizing the videoOptions, we ensure that even during re-renders, the options remain unchanged, enhancing performance. 🚀🔍
Imp: Make sure to fill in the video src in the videoJsOptions!!
  const videoJsOptions = useMemo(
    () => ({
      autoplay: true,
      controls: false,
      responsive: true,
      fluid: true,
      fill: true,
      loop: true,
      muted: true,

      techOrder: ["youtube"],
      sources: [
        {
          src: "PUT YOUR YOUTUBE/VIDEO URL HERE",
          type: "video/youtube",
        },
      ],
    }),
    []
  );
Third Optimization
The third optimization we implemented involves lazy loading the VideoJsPlayer component using the lazy() function and Suspense component from React. While the VideoJsPlayer component may still be rendered initially, lazy loading refers to the asynchronous loading of the component's code, rather than delaying its rendering.
Although the VideoJs component may appear during the initial page load, lazy loading offers advantages in specific situations. For instance, it reduces the initial bundle size and defers loading, ensuring that the code for the VideoJs component is fetched and parsed only when necessary.
// Lazy loading the VideoJsPlayer
const LazyVideoJsPlayer = lazy(() =>
  import("./components/common/VideoJsPlayer")
);

// Using Suspesne and showing the Spinner on fallback until VideoJsPlayer is loaded
<Suspense fallback={<CircularProgress />}>
  <LazyVideoJsPlayer options={videoJsOptions} onReady={handlePlayerReady} />
</Suspense>;
Final Optimization
For the final touch, as promised, we'll implement a simple yet powerful optimization for our application, inspired by the likes of Netflix. Similar to Netflix's approach, we'll incorporate a straightforward logic: after a certain scroll threshold, we'll automatically pause the HeroSection video (in our case, using video.js). This optimization enhances user experience and improves performance by conserving resources when the video is not in the viewport.
By pausing the video when it's not in the viewport, we reduce unnecessary resource consumption. This can lead to faster page loading times, smoother scrolling, and improved responsiveness, especially on devices with limited resources like mobile phones or tablets. Additionally, it can help conserve battery life and reduce data usage for users accessing the application on mobile networks. Overall, it contributes to a more efficient and enjoyable user experience.
To achieve this optimization, we'll create a custom Hook called useOffSetTop to track the user's scroll position relative to the top of the viewport. This Hook will allow us to determine whether the HeroSection, containing the video player, is currently visible on the screen or not. Based on this visibility, we can then decide whether to pause or play the video accordingly.
useOffSetTop.ts:
import { useState, useEffect, useCallback } from "react";

export default function useOffSetTop(top: number) {
  const [offsetTop, setOffSetTop] = useState(false);
  const onScroll = useCallback(() => {
    if (window.scrollY > top) {
      setOffSetTop(true);
    } else {
      setOffSetTop(false);
    }
  }, [top]);

  useEffect(() => {
    window.addEventListener("scroll", onScroll);
    return () => {
      window.removeEventListener("scroll", onScroll);
    };
  }, [top]);

  return offsetTop;
}
Using the Hook with HeroSection.tsx:
Add the following code before returning the JSX:
  // OffSetTop logic
  const isOffset = useOffSetTop(window.innerWidth * 0.5625);
  useEffect(() => {
    if (playerRef.current) {
      if (isOffset) {
        playerRef.current.pause();
      } else {
        if (playerRef.current.paused()) {
          playerRef.current.play();
        }
      }
    }
  }, [isOffset]);
If you're wondering why I multiplied by 0.5625, it's because it's a method to calculate a threshold value based on the size of the browser window. This value is utilized to determine when to trigger specific actions in the application, such as pausing a video, depending on the extent of the user's scroll. For instance, if the user has scrolled to 56.25% of the browser's width, we may choose to pause the video.
Summary ✨
In conclusion, our quest to optimize the HeroSection Video.js component has been a fruitful one, marked by significant enhancements at every turn. Let's recap our journey:
🧹 Cleaning and Disposing: We ensured the efficient management of resources by properly cleaning and disposing of the video.js component when it's no longer needed, thereby preventing memory leaks and maintaining application performance.
🔍 Utilizing useMemo: By employing the useMemo hook, we strategically memoized the video options, minimizing unnecessary re-renders and ensuring optimal rendering performance.
⚡️ Lazy Loading: Introducing lazy loading injected a dose of dynamism into our application, allowing us to defer the loading of non-critical components until they're needed, thereby enhancing initial load times and reducing unnecessary resource consumption.
📏 Tracking User Scroll: Leveraging the useOffSetTop hook, we implemented a smart scroll tracking mechanism, empowering our application to respond dynamically to user interactions, such as pausing the video when the user scrolls beyond a certain threshold.
With these four optimizations seamlessly integrated into our HeroSection, we've not only fine-tuned its performance but also elevated the overall user experience to new heights. Here's to smoother video playback, faster loading times, and happier users! 🚀✨